|
1 - Make the Flexible mold.
Make sure the model is comfortable, and work as fast as possible
to minimize discomfort. Use a thin coat of vaseline on the eye
brows, sideburns, and on the eyelashes. It's best to have one or two assistants during the process.
|
|
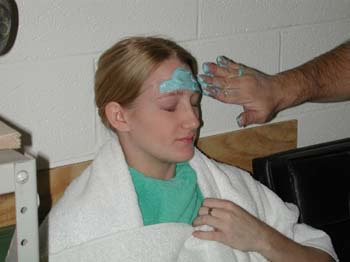
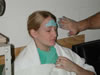
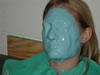
Apply the Algiform on the entire
face and avoid the hair line. A bold cap or a swim cap can be used to protect the hair form trapping algiform. Few pieces of algirom will come off hair, but large quantities trapped in hair can be a pain to deal with. |

|
Make sure you do not cover the
nose (humans do need to breath). If algiform accidentally enters the nose cavity, tell the model to open his/her mouth to breath and to blow hard through the nose to expel the algiform. |

|
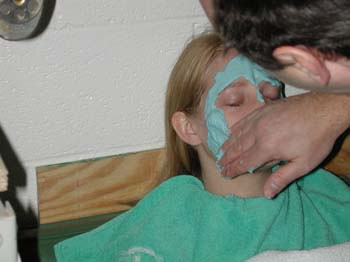
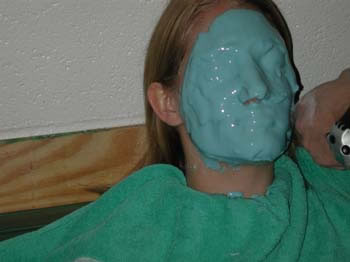
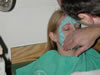
Make sure to cover the eyes
and mouth first while the algiform is still fluid. Be careful not to trap air bubbles, especially around the eyes and mouth. The algiform stays workable for about ten minutes if mixed correctly, but once it begins to set, it hardens fast. |
|
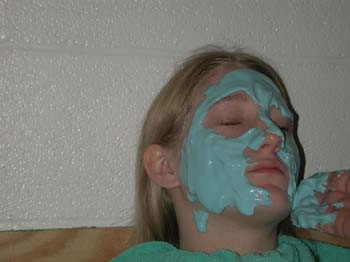
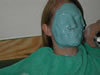
Finish by covering every part
of the face (except the nose!). A consistent layer is all you need. The algiform wants to slip down the face when it's still liquid, so be sure to keep working it upwards until it hardens. |
|
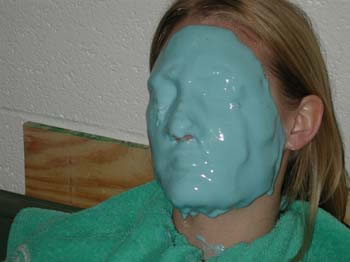
Wait a few minutes to make sure
the mold begins to set |
|
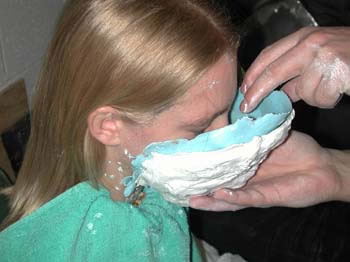
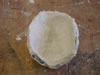
2
- Make a "Mother Mold".
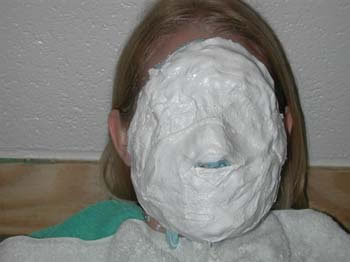
Apply plaster bandages with plaster on top of the algiform. The
hardened plaster will allow the flexible mold to keep its form.
If you don't have medical gauzes you can use thin strips of cheesecloth
dipped in wet plaster. |
|
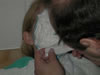
Wait until the plaster begins
to set. It will begin to feel warm and as soon as it begins to cool down, you can begin taking it off the face. The plaster is hard but still not set, so be careful not to distort it or break it. |

|
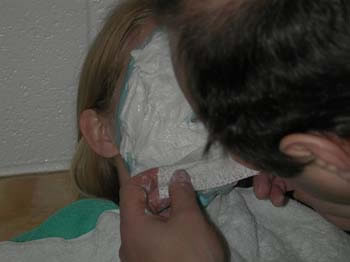
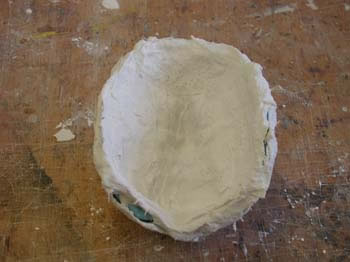
Pull the flexible mold and the
mother mold carefully. (Make sure no hair has been trapped in
the material). It might help to pull the plaster jacket off first and then work the algiform mold afterwards, but I like to pull them together to minimize any chance of it tearing or distorting. |
|
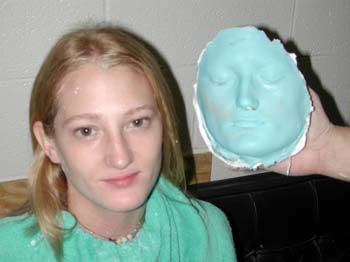
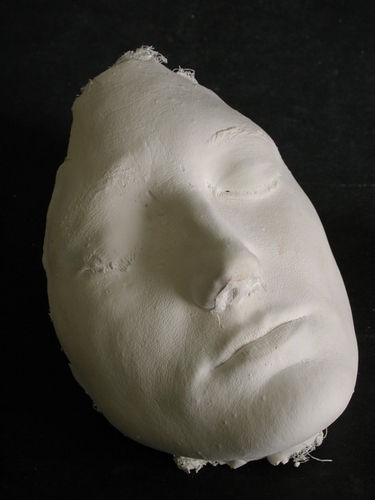
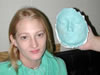
The model (Vanessa) and the mold.
You will need to begin the casting process quickly after you pull the mold from the face. Algiform has a limited life and it will begin shrinking and becoming brittle very quickly. If you can't begin the casting process immediately, submerge the algiform mold in a bucket of water. I found that the mold will still be usable the next day.
|
|
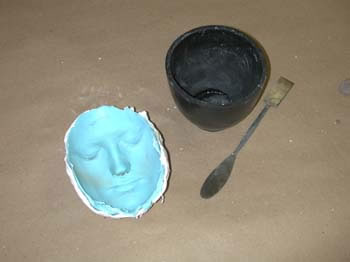
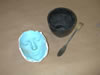
3
- Make the Cast.
Prepare for the cast. Use some algiform to plug the nose holes and a plaster bandage to reinforce it. To make a cast, you need the mold, a spatula or tongue suppressors,
a container and... |
|
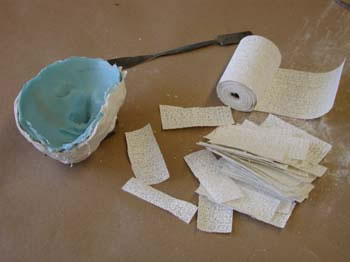
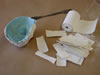
...some medical bandages cut into
little strips. |
|
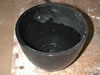
Pour water into container |
|
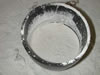
Pour plaster in container until
water is saturated with plaster particles. (the dry-cracking surface
is a clue that the mixture is ready to mix). I like to apply the first coat with a "splash" technique, but you may use a brush to work the plaster on the mold surface. Be careful not to trap any bubbles |
 |
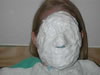
Cover the mold with a thin coat
of plaster and back it up with the overlapping bandages for strength. When the plaster sets, carefully separate it from the mold. The algiform mold will probably rip through this process, but if you are careful you might be able to keep it intact so you can pull a second plaster cast. |
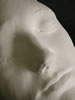 |
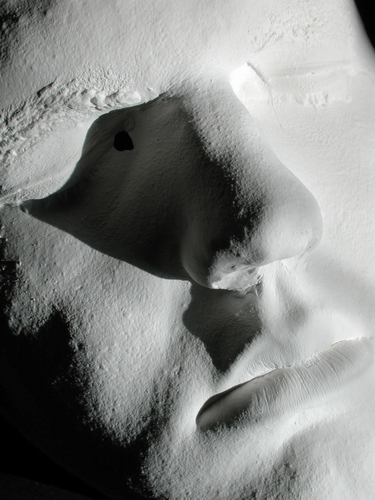
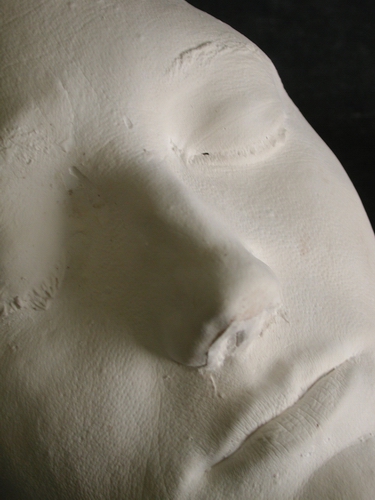
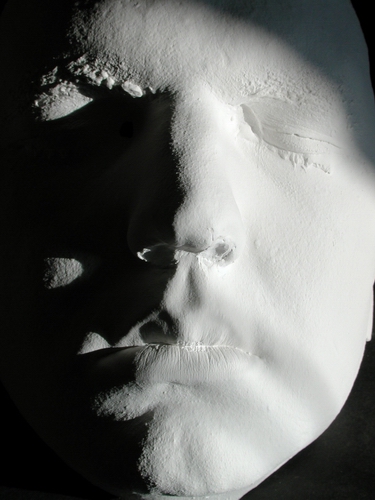
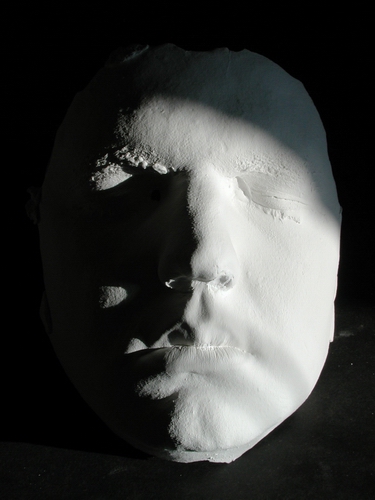
The final plaster of paris cast shows all the detail of the face and preserves the fine skin texture. You can use dental tools (ask your dentist if he can give you some old ones) to clean all the imperfections around the nose and to "shave" any blemishes.
You can apply a diluted coat of shellac (dilute with denatured alcohol) on the plaster to seal the surface, or you may apply other finishes like spray paint, or plaster rubbings, or anything else - be creative.
|
Remember, this is just a face mold. It's not art until you make it art.