Setup Instructions
To be able to frequently access your student space here are some directions to map and access your web files easily. The first method is just mapped for one time use and will reset after a reboot, and the second method is a more permanent route that allows the mapped network drive to always appear and mount on your desktop after system reboots and user logins.
Map a network drive to Mac
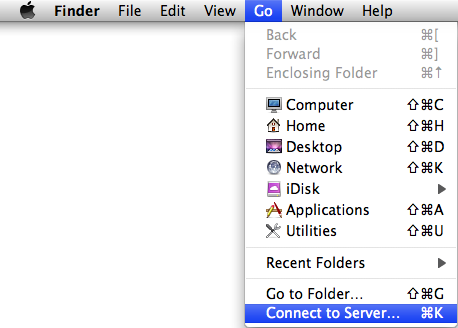
1. Minimize all open windows and single-click anywhere on the background to make sure ‘Finder’ is the active application on the top left of the screen.
2. Once you see ‘Finder’ in the top right corner, click the ‘Go’ button. Scroll down and click ‘Connect to Server’. You can also click Command+K to bring up the 'Connect to Server' window.
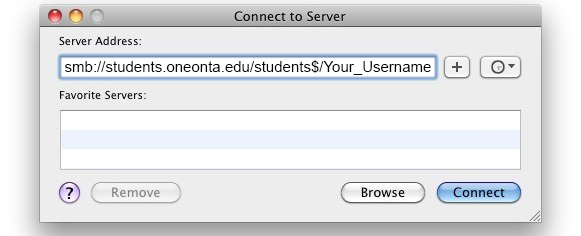
3. Here is where you will type in the path of the homeshare or departmental share you are mapping.
Your path should look like this: smb://students.oneonta.edu/students$/Your_Username
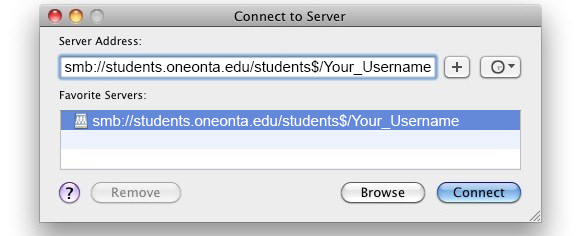
5. Once the path is entered click the “+” sign, which will add this to your connection list on this machine each time you log in, and then click “Connect”. Your student drive should then open and your should see your files located on the server.
(This will be your USB and you should select the WWW folder)
- students.oneonta.edu/username
- Enter Username & Password (Your Oneonta username/password)
click test connection. You have to be on the oneonta network for this to work.
- Click Save
- Click Save
- Always make sure you are working from the Remote Server